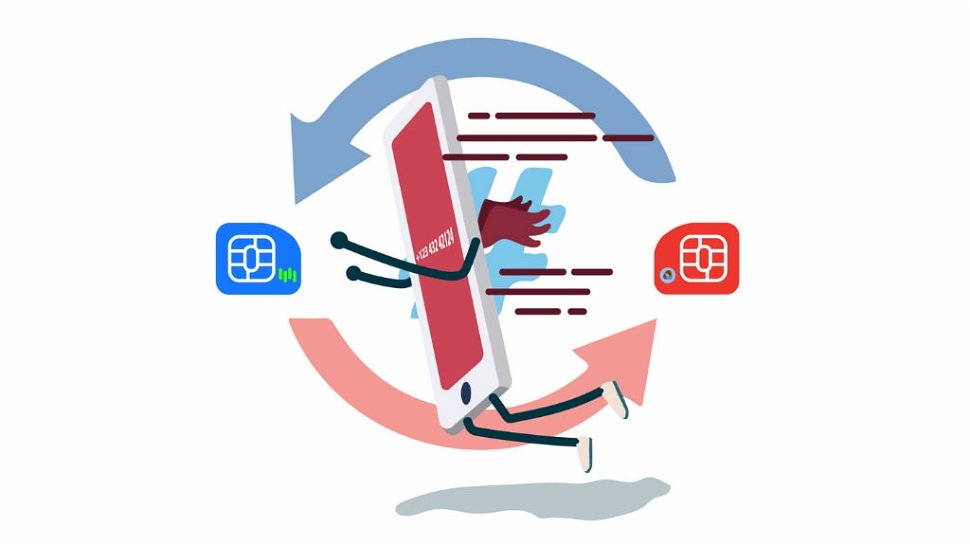
When you sit down and think about all the things tied to your phone number, the idea of losing it is scary…
You’d have to contact your bank, utilities, doctors, and go through the hassle of setting up any two-factor authentication you have on services again.
That doesn’t include all the family and friends you have who will take months to remember your number changed…
Fortunately, whether you’re switching carriers, consolidating accounts, or getting the kids set up on their own accounts as they grow up, transferring numbers between providers is simple.
Keeping your number is simple.
In this guide, we’ll cover everything you need to know. With these steps, you can enjoy your old number on a service in a matter of hours!
Editor’s Note: This post has been updated for 2022
A Quick Primer on Rules Before You Get Started
While the number porting process is simple, you’ll want to keep a few things in mind before getting started:
Only the account holder can initiate a number port
You can’t transfer numbers outside their originating region
You can’t transfer 800 numbers or pager numbers
However, there are a couple of rules working in your favor as well:
As long as you meet the rules above, your service provider cannot stop you from transferring out your number.
You can transfer your number, even if you owe your current carrier.
There is an important caveat to that last one though...
The account must be active to transfer the number!
If your account is closed due to non-payment, or you close the account yourself before porting the number, you will likely lose it.
6 Steps to Number Porting Success
Porting your number is a hands-off process. Mostly, everything will happen behind the scenes once you get the
process started.
Find a New Service Provider
The first thing you must do is find a new carrier.
If you’re not sure what you need or where to start, our guide on switching carriers covers all the important topics and breaks things down into easy, actionable steps.
Gather Important Account Information
Once you have a plan in mind, you’ll want to gather some information to help your new carrier bring your number over.
While the exact information needed might vary between carriers, common items include:
Identifying information -- such as a government-issued ID card or driver’s license
Proof of address -- such as a bill from one of your utility providers or credit cards
A copy of your bill from your current provider
A way to pay any costs associated with your new service
Sign Up for Service with Your New Carrier
With the information from Step 2, you're ready to phone up your new carrier or stop by one of their stores. Sign up for your new plan and be sure to tell them you want to bring your number with you from your existing plan.
Wait
Your new carrier will contact your old carrier and negotiate bringing your number over. You’ll want to leave your existing SIM in your phone to place and receive calls while the process completes.
However, keep a close eye on your service. Should you notice you can’t place calls anymore, or you don’t have coverage in a place where coverage is usually strong, these things might indicate the switch is complete.
Swap SIMs and Enjoy!
Once the number is transferred, pop your new SIM in the phone and follow any activation instructions provided by the carrier.
In most cases, activation is as simple as calling customer service. You can find customer services numbers for every carrier in our carrier summaries.
Place a few calls to verify everything is working properly. If you can, have a friend or family member call and text you as well to cover all the bases.
If you had any advanced calling features—such as call forwarding or voicemail—set up with your old provider. You’ll
likely need to configure these again to work how you’d like.
TIP: If your carrier uses a CDMA network, you might not have a SIM. In this case, you’ll need to call to activate your phone on the new network using the IMEI/MEID number on your phone. In most cases, you’ll find this on the back of the phone or in the battery bay. If you cannot find it, calling your carrier is an easy way to get answers.
Wrap Up Any Loose Ends
That’s it! You’ve switched your old number to a new provider.
At this point, you’ll want to call your old provider and make sure everything is handled there regarding any remaining fees or other concerns.
Also, be sure to put your phone service through its paces in the coming days.
Many carriers have a small window at the start of any new service during which you can receive a refund or get out of your contract is service isn’t to your liking.
Other Considerations
While the steps are straightforward, there are other things to consider outside the actual porting process. We’ll cover the most important concerns below.
Avoiding Extra Fees and Surprises
In many areas, you can still port your number away from your existing carrier even if you’re on contract or your account is behind on payments.
However, this doesn’t stop them from charging you early termination fees, late fees, or attempting to collect on any debt you might owe.
In fact, many carriers include stipulations in their terms of service that all charges due when the account is closed will draft automatically from the billing method on file with your account.
Be sure to check any contract requirements and obligations before porting your number out to avoid any nasty
surprises next time you check your bank or credit card balances.
Backing Up Contacts and Data
In the early days of cellphones, all of your contacts were stored on your SIM card. This made it easy to bring contacts from one phone to the next since many had limited memory.
Today, most smartphones use apps and services to keep up with contacts and other important information. However, if you’re switching devices while moving your number over, you’ll want to make a backup to be sure you don’t miss any important files after the switch.
If you use Gmail and the other Google Apps in Android for communications, there’s a good chance most of your contact information is already tucked away safe in the cloud.
There are also numerous Android backup apps out there geared toward making more comprehensive backups.
If you’re an Apple fan, just make a backup using iTunes before you swap devices and restore it when you’re done.
Bringing Your Phone with You
While you can transfer almost any local number to another service provider, phones don’t always support every network. Moreso, if you bought it from your carrier, there’s a good chance it is locked.
If you’re planning on bringing your number AND your phone to a new provider, be sure to check our phone unlocking
guide before making the switch to ensure you can still use your favorite phone.
Setting up VoIP as a Backup
While the number porting process usually only takes a day or two at the most, there’s always the risk you won’t be able to place or receive calls during the process.
If you’re expecting critical calls, setting up a VoIP service, such as Google Voice or Skype, can help to route calls as needed until the process is complete.
Just be sure to remove any call forwarding or other settings once your number is with your new provider to avoid any confusion.
You might also notify contacts that you’re switching numbers and that downtime might occur.
Getting Around Region Limitations
If you’re moving between regions, your options for keeping your number are limited.
Unless you encounter coverage issues in your new location, the easiest option is to keep your existing account.
However, if you need better coverage -- or you’re trying to take advantage of a better plan or savings elsewhere -- you might be able to transfer your number if you can provide identifying information that links you to an address in your original location.
You have two main options:
If you haven't moved yet, just start service with a new carrier, port your number using the steps in this guide, and move without worry and update your billing address when you arrive in your new location.
Of course, you’ll want to check coverage using the official carrier maps and third-party sites, such as RootMetrics and OpenSignal, to be sure you’ll have a strong signal in your new location.
If you’ve come to this guide after moving, there’s still an option -- but it’s a bit complicated…
Essentially, you’d need to be able to provide information that claims you live in the original region to port your number. Common examples might include an old (but not too old) utility bill or an active PO Box.
The best way to find out what information might work is to call the carrier you intend to switch to and talk with a representative as accepted forms of identification might vary.
TIP: If you cannot keep your number, but want a number in the same area code as your previous number, you might be able to use Skype or Google Voice to forward calls and texts from a virtual number to your new number, but this is outside the scope of this guide.
WARNING: Many carriers use GPS triangulation and other advanced features to route calls to the appropriate response center or determine your location. However, if they base your response center on your billing location and you're using an address in another region, you could find help hard to reach in an emergency.
A Quick Recap
DO NOT cancel your existing service if you want to keep your number
Gather any information needed in advance to ensure a smooth transition
Check contracts and account requirements before transferring numbers to avoid surprise fees
Backup contacts if you don’t have an app-based solution in place
Be sure to tell your new provider you want to keep your number
Account for any important calls during downtime with VoIP or a backup number
Exact regulations differ depending on the country you live in. If you’re looking for the official number porting regulations for the US, consult the FCC's Guide to Wireless Local Number Portability.
With the competitive nature of today’s mobile markets, switching carriers is a popular way to save money and find the ideal plan for your needs.
We hope this guide helps you get the most out of your mobile service while keeping the number you’ve had all these years.
P.S. If you’re still locked into a contract and don’t want to pay the fees to port your number to a new provider, our guide to avoiding early termination fees can help. It offers multiple tips and tricks you can use to legally avoid these common fees and break free from your existing service provider.
Disclosure: You should know that in some cases, we may receive a referral fee (at no additional cost to you) for products purchased through the links on our site. These links help support our work but they do not influence our content. Our editorial recommendations are always genuine and we try to feature only the best products and services. Why trust us?


